QR Code Blurred
More than 100 million people in the US alone are expected to scan a QR code in 2026, and a growing share of those scans still fail for one avoidable reason: a blurred QR code. You print a poster, upload it to social media, or paste it into a slide deck, and the code that looked crisp on your screen turns to mush the moment a phone camera tries to read it. That single failed scan can cost a sale, a signup, or a first impression.
This guide walks through exactly why QR codes blur, the five fixes that actually work, and the tools worth using instead of guessing. For the fundamentals of building one correctly from scratch, our complete QR code guide is the place to start.
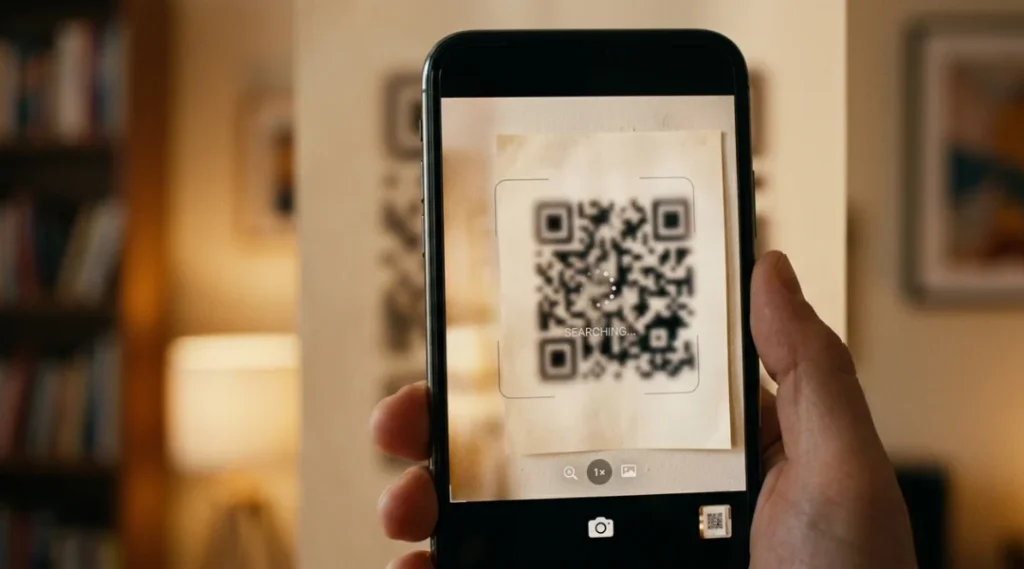
Table of Contents
ToggleWhat Is a Blurred QR Code?
A blurred QR code is a QR code whose black and white modules are no longer sharp enough for a camera to tell apart, usually caused by low image resolution, motion blur, poor printing, or aggressive resizing. The camera sees smeared edges instead of clean squares, so the scanner can’t decode the pattern, and the scan either times out or returns nothing at all.
Why Fixing a Blurred QR Code Matters in 2026
A blurred QR code directly costs conversions: every failed scan is a lost click, sale, or signup, and in 2026 the volume of scans at stake is larger than ever. QR Tiger’s 2026 statistics report puts global scans at over 130 million and climbing, with average scan-to-action rates hovering around 15 to 20%, which means a soft or pixelated code isn’t just a cosmetic flaw, it’s a revenue leak at real scale.
Two things changed the stakes recently. First, by April 2026, GS1’s Sunrise 2027 initiative had already pushed retailers across 48 countries to pilot GS1-compliant 2D codes at checkout, raising the bar for print quality since point-of-sale scanners are far less forgiving of blur than a phone’s camera app. Second, Uniqode’s April 2026 State of QR Codes report found total scan volume across its platform grew 7% year over year, meaning more codes are being scanned under real-world lighting and printing conditions, exactly where blur shows up fastest.
Here’s what that looks like in practice: a restaurant chain that shrank its table-tent QR code to fit a redesigned menu saw scan failures spike almost immediately. The file itself hadn’t changed, it was simply rendered at about 40% of its original print size, which pushed the individual modules below the size a phone camera could resolve from arm’s length.
Blur matters far less in one common scenario: a QR code meant to be scanned up close, screen-to-screen, like one you show a cashier at checkout on your own phone. At six inches with steady framing, even a moderately soft code usually still decodes fine.
Most guides on this topic stop at generation settings and skip what actually breaks in the field: print bleed, camera autofocus lag, and screen-to-screen scanning, which adds a second layer of pixelation on top of the original blur. Those real-world failure points, not just export settings, are usually what separates a code that scans on the first try from one that doesn’t.
How a Blurred QR Code Happens (and How to Fix It): Step-by-Step
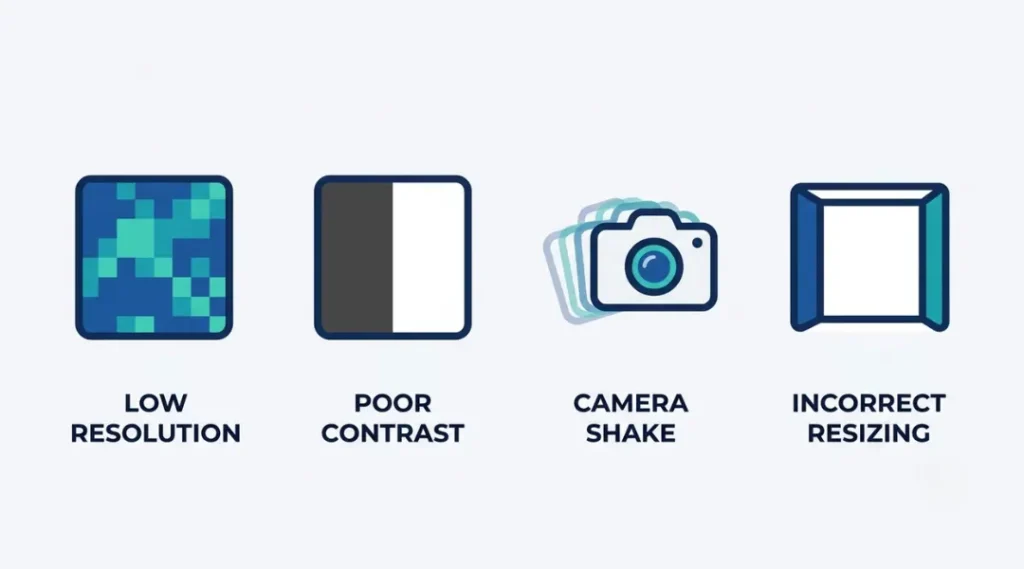
Most blur traces back to one of five points in a code’s life: the source file, the contrast, the error correction level, the export format, or the final print or display size. Fixing it means checking each one in order instead of guessing.
Step 1: Check the Source File’s Actual Resolution
This step confirms whether the blur started at generation, not at printing. Open the original QR file’s properties and check its pixel dimensions. For print, aim for at least 300 DPI at the final print size (a 2×2 inch code needs roughly 600×600 pixels). For screens, keep the code at least 300×300 pixels as rendered.
Pro tip: if the file’s properties show anything under 150 DPI at your intended print size, don’t waste time troubleshooting further, regenerate the code instead of trying to sharpen a low-resolution original.
Common mistake: dragging a QR code image to resize it inside Canva or PowerPoint to fit a layout. That stretches a raster image and destroys the module edges even though it still “looks fine” at screen size.
Step 2: Fix Contrast and the Quiet Zone Before Touching Anything Else
Contrast between modules and background, plus a clean blank margin around the code (the “quiet zone”), is what lets a camera’s autofocus lock on in the first place. Keep contrast at true black on true white wherever possible, and leave a quiet zone of at least four modules, roughly the width of four QR squares, of empty space on every side.
Pro tip: codes placed on busy backgrounds or low-contrast brand colors, like light grey on white or pastel on pastel, blur into their surroundings even at full resolution because the camera can’t isolate the finder patterns in the corners.
Common mistake: overlaying a logo or dropping the code onto a photo background without retesting scan reliability afterward.
Step 3: Rebuild the Code with a Higher Error Correction Level
Error correction lets a scanner reconstruct part of the code even when a portion of it is soft, dirty, or damaged. This capability, based on Reed-Solomon error correction, has been part of the QR code standard since Denso Wave first developed it in 1994. Regenerate the code at error correction level Q (25% recovery) or H (30% recovery) instead of the default L (7%); this is a standard setting in virtually every QR generator.
Pro tip: higher error correction slightly increases module density, so it works best paired with the resolution check from Step 1.
Common mistake: leaving the default low error correction level on codes destined for print, where dust, folds, and lamination glare are all common.
Step 4: Export as Vector, Not Raster, for Anything That Will Be Printed or Resized
Vector formats (SVG, EPS, PDF) redraw the code at any size instead of stretching existing pixels. Most modern generators offer an SVG or EPS export option alongside PNG; use it for anything headed to a printer or that might be resized more than once.
Pro tip: print shops specifically request vector files for exactly this reason. A PNG exported at 300x300px will blur the instant it’s scaled up to fill a poster, while an SVG stays crisp at any size.
Common mistake: sending a raster PNG to a print vendor and asking them to “just make it bigger.”
Step 5: Test the Final Code Under Real Conditions Before Publishing
This step confirms the fix actually worked in the environment the code will live in, not just on your monitor. Print or display the final version at true size, then scan it with at least two different phone models, from the actual distance a viewer would stand, in the lighting where it’ll be used. Both Google’s and Apple’s own scanning guidance point to the same basics: hold steady, get good lighting, and keep the full code inside the frame.
Pro tip: dim or backlit environments, like a window-lit storefront or a dim restaurant, are where borderline codes fail first, so test there specifically if that matches your use case.
Common mistake: testing only with a design tool’s built-in preview scanner, which is far more forgiving than a real camera.
Best Tools for Fixing a Blurred QR Code
| Tool | Best For | Key Strength | Real Limitation | Price (2026) | Verdict |
|---|---|---|---|---|---|
| Adobe Express QR Generator | Print-ready marketing assets | Native SVG/EPS export keeps edges crisp at any size | Free tier caps custom logo uploads | Free / Premium from $9.99/mo | Best for print-ready vector codes |
| Uniqode | Brand teams tracking scans | Built-in scan-quality preview before publishing | Bulk dynamic code generation needs a paid tier | Free / Paid plans [CONFIRM PRICE] | Best for dynamic QR at scale |
| QR Code Monkey | One-off high-resolution codes | Free high-res PNG and SVG export up to 4000px | No built-in scan testing | Free | Best free high-res generator |
| Topaz Gigapixel AI | Rescuing a low-res source image | AI upscaling recovers edge sharpness on old files | Can’t fix a code that’s fundamentally too small for its data density | ~$99 one-time [CONFIRM PRICE] | Best for salvaging low-res source files |
| GS1 2D Barcode Test Suite | Retail and enterprise QA | Validates against real point-of-sale scan-quality standards | Built for GS1-compliant codes, not general marketing QR | Free | Best for compliance-grade validation |
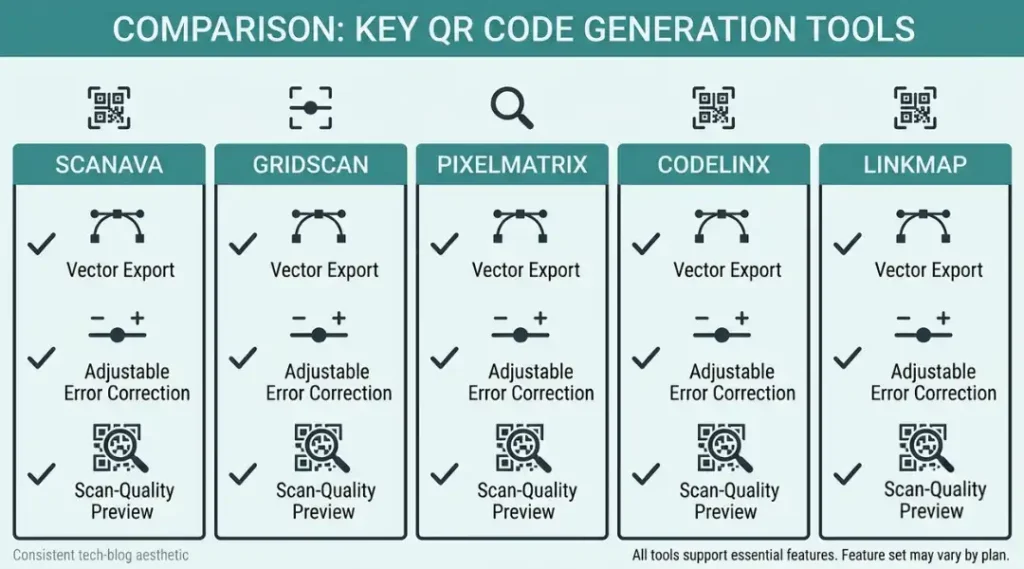
Adobe Express is the easiest starting point if your code is going to print, since its vector export sidesteps the resizing problem entirely. The honest limitation: heavier customization (custom frames, multiple logo variants) pushes you into a paid plan faster than competitors.
Uniqode stands out for a dimension most comparison guides skip entirely: it shows you a scan-quality preview before you publish, rather than only after a customer complains. The tradeoff is that this feature is most useful once you’re managing more than a handful of codes.
QR Code Monkey is the pragmatic free option for a single high-resolution export, and its SVG output is genuinely production-ready. It just won’t tell you whether the finished code will actually scan reliably, so pair it with manual testing from Step 5.
Common Mistakes to Avoid
- Resizing a raster QR code inside a design tool instead of regenerating it as a vector.
- Placing a code on a low-contrast or busy background without a retest.
- Shrinking a code to fit a layout without checking the new print DPI.
- Skipping real-world scan testing and relying only on an in-app preview scanner.
- Using default (low) error correction on codes that will be printed, laminated, or handled.
QR Code Blurred: Frequently Asked Questions
The file likely looks fine at its original size but breaks down once it's resized, compressed, or printed smaller or larger than its native resolution. Always check pixel dimensions against your final output size, not how it looks in the editor.
Sometimes, if the blur comes from print settings or a display issue rather than the source file itself. But if the original file is low resolution or was heavily resized, regenerating it as a vector file is faster and more reliable than trying to sharpen it after the fact.
As a rule of thumb, keep printed codes at least 1 inch by 1 inch (2.5 cm) for close-range scanning, and scale up roughly 1 inch of code size for every 10 feet of expected scanning distance. Denser codes (more data encoded) need to be printed larger than simple ones.
It helps, since higher error correction lets a scanner reconstruct part of a damaged or soft code. But it isn't a substitute for a properly sized, high-resolution source file. Use higher error correction alongside the other fixes in this guide, not instead of them.
Move slightly closer or farther until the full code fits cleanly in frame, tap the screen on the code to force focus, and make sure the area is well lit. Both Google and Apple publish official guidance confirming that a steady hand and good lighting solve the majority of scan failures on the reader's side.
Conclusion
A blurred QR code almost always comes down to one of five fixable issues: resolution, contrast, error correction, export format, or final size. Work through them in order, test with a real phone before you publish, and pick a generator that supports vector export from the start so you don’t run into this problem again.