How to Screen Record on iPhone
Screen recording on iPhone changed more in the last year than in the eight years before it. Apple’s built-in recorder, unchanged in look since iOS 11, quietly picked up native full-resolution capture, HDR video, and a Visual Intelligence hook that turns a recorded frame into searchable text or an identifiable object. For most people that swipe-down, tap-record habit still works exactly the way it always has. But if you’re recording a tutorial, a design handoff, or a bug report for a developer, the settings you choose now genuinely change the output quality.
This guide walks through how to screen record on iPhone in 2026: the built-in method, what actually changed under the hood, when a third-party app is worth the subscription, and how it connects to the rest of our Smartphone Tips and Troubleshooting.
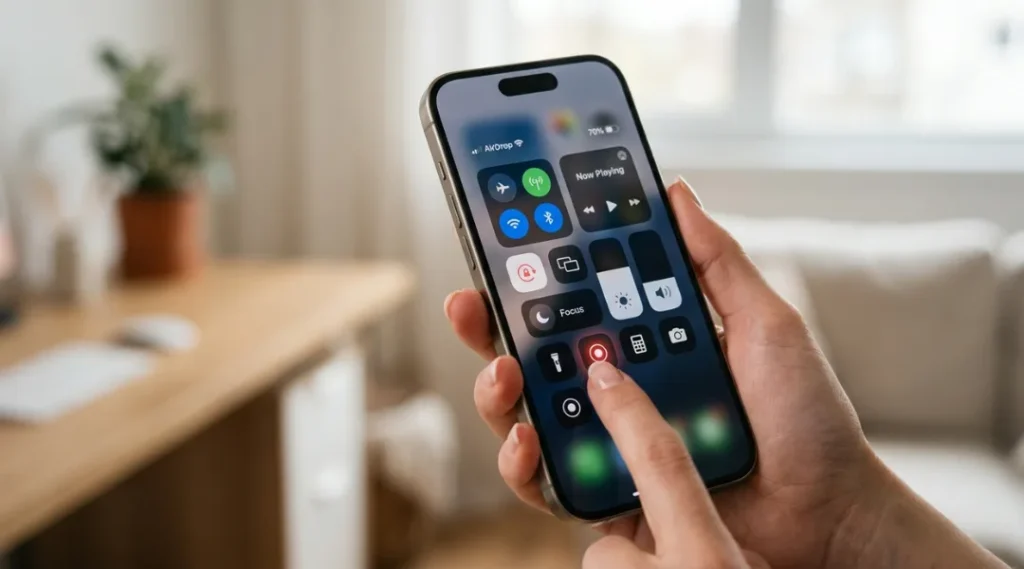
Table of Contents
ToggleWhat Is Screen Recording on iPhone?
Screen recording is a built-in iOS feature that captures everything shown on your iPhone’s display, including sound, as a video file saved to your Photos library. You start and stop it from Control Center, with no app download or account required. Apple’s own support documentation confirms it works across iPhone, iPad, and iPod touch running a current iOS version. (Source: Apple Support)
Why Screen Recording Matters in 2026
Screen recording moved from a niche utility to a daily workflow tool because iOS 26 removed the two biggest limitations that had frustrated creators, developers, and support teams for years: capped resolution and flat, washed-out color.
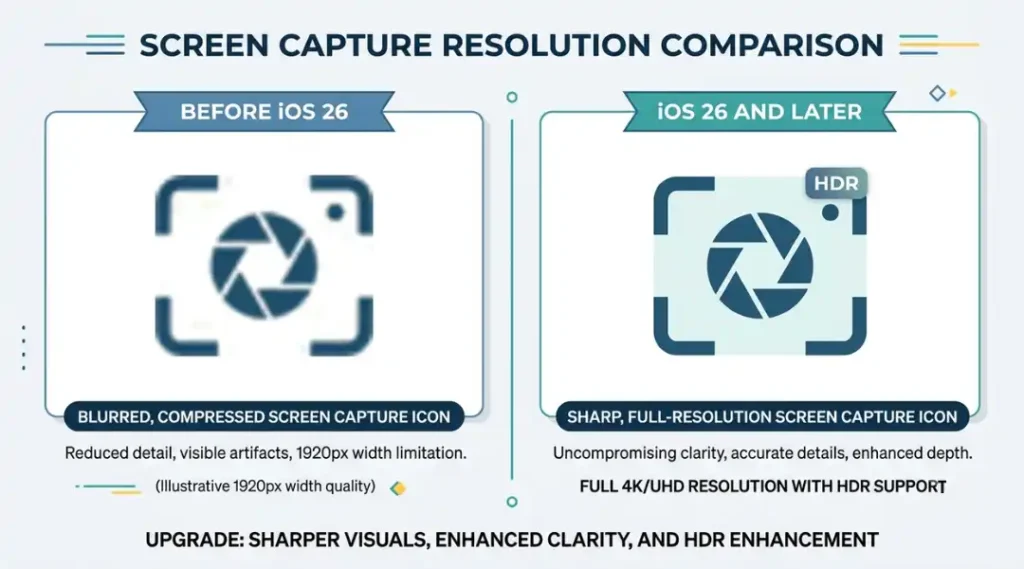
Two changes drove that shift. In September 2025, iOS 26 introduced native full-resolution screen recording, eliminating the long-standing 1920-pixel width cap that had forced every modern iPhone to record at a compressed 884×1920 regardless of its actual screen resolution. Then, in the same release, Apple added HDR screen capture using HEVC HDR10 encoding, so recordings preserve the same dynamic range you see live on the display. One industry analysis measured the resolution jump directly: an iPhone 16 Pro Max now records natively at 1320×2868 instead of the old capped output, a meaningful gain for anyone who needs pixel-accurate footage. Separately, Apple’s own iOS 26 feature notes confirm the addition of Visual Intelligence, which lets you tap and hold any frame from a recording to pull out text or identify what’s on screen.
A concrete example: a freelance UI designer recording a component handoff for a client now exports footage that shows the actual shadow depth and gradient detail of an interface, detail that used to blur into compression artifacts at the old capped resolution.
That said, native resolution and HDR matter less than people assume for casual use. If you’re recording a 15-second reaction clip to text a friend, the file gets compressed the moment it’s sent through Messages or WhatsApp anyway, so the quality gain is invisible.
Here’s a gap most existing guides skip entirely: full native-resolution recording is gated to devices with an A17 Pro chip or newer (iPhone 15 Pro and later). Older iPhones running iOS 26 still cap out at 1920 pixels, and neither Apple’s support page nor most how-to articles mention this clearly before you go looking for footage that never got the upgrade. Guides also rarely flag that system audio from other apps still can’t be captured during FaceTime or phone calls, a restriction that’s intentional and unrelated to any bug.
How Screen Recording Works: Step-by-Step
The short answer: open Control Center, tap Record, wait three seconds, and your screen captures until you tap Stop. Below is what each step actually involves, plus where people usually trip up.
Step 1: Add Screen Recording to Control Center
This is a one-time setup that puts the Record button where you can reach it. Go to Settings, then Control Center, and tap the green plus next to Screen Recording to add it to your active controls.
Pro tip: Drag it near the top of your control list so it’s the first tile you see when you swipe down, saving a few seconds every time you record.
Common mistake: People assume the button appears automatically after an iOS update. It doesn’t; if it’s missing from Control Center, it simply hasn’t been added yet.
Step 2: Start the Recording
This kicks off the actual capture. Swipe down from the top-right corner of the screen to open Control Center, then tap the gray Record icon. A three-second countdown appears before capture begins, giving you time to exit Control Center and get to the screen you want recorded.
Common mistake: Tapping Record and then forgetting to exit Control Center immediately. Control Center itself gets recorded until you swipe away.
Step 3: Choose Audio and Format Before You Record
This determines whether the final video has narration and how much color detail it holds. Press and hold the Record button (rather than tapping) to open a menu where you can turn on microphone audio. For HDR capture, go to Settings, General, then Screen Capture, and switch the format to HDR beforehand; it can’t be toggled mid-recording.
Pro tip: Turn the microphone on only when you’re narrating. Leaving it on by accident is the most common reason people re-record a tutorial from scratch.
Common mistake: Expecting the recording to capture sound from apps like Zoom or FaceTime during a live call. iOS blocks that by design, even with the microphone enabled.
Step 4: Stop and Locate the Recording
This ends the capture and saves the file automatically. Tap the red Screen Recording indicator at the top of the screen, then tap Stop, or reopen Control Center and tap the red Record icon. The finished video saves straight to the Photos app under your Library.
Common mistake: Searching for the file in Files instead of Photos. Screen recordings never appear in the Files app by default.
Step 5: Trim and Share Directly From Photos
This lets you clean up a recording without opening a separate editor. Open the video in Photos, tap Edit, and drag the trim handles to cut the start or end. From there you can mute the audio track or export at a reduced resolution before sharing.
Pro tip: Trim before sharing to a chat app; smaller files upload faster and are less likely to get stuck compressing.
Best Tools and Methods for Screen Recording
For the vast majority of iPhone users, Apple’s built-in recorder is the right call: it’s free, requires no account, keeps the file on-device until you choose to share it, and now matches what third-party apps offer in resolution and HDR quality. The main reasons to look at a third-party app are collaboration features Apple doesn’t build in: instant shareable links, face-cam overlays, live streaming, or built-in annotation tools.
Selection criteria worth weighing: does the app require a cloud upload to share (a privacy and offline-use question most comparison articles skip), does the free tier add a watermark, and what does it actually cost in year two once introductory pricing or free-tier limits run out.
| Tool / Product | Best For | Key Strength | Real Limitation | Price (2026) | Verdict |
|---|---|---|---|---|---|
| Apple Built-in Recorder | Quick, private, no-signup recordings | Native full resolution and HDR, no account or upload required | Can’t record screen and front camera at once; no third-party call audio | Free | Best default for almost everyone |
| Loom | Fast, shareable async video links for teams | One-tap link generation; viewer comments and reactions | Free tier capped at 25 videos and 5 minutes each | Free tier; Business (pricing has shifted repeatedly since the Atlassian acquisition) | Best for team communication, not solo capture |
| DU Recorder | Live streaming plus built-in annotation | Draw, circle, or add text live during recording | Same iOS audio restrictions apply during calls; watermark on free tier | Free with watermark; premium | Good for streamers who need on-screen markup |
| Record It! | Reaction-style tutorials with face cam | Green screen and face-cam overlay for engaging demos | Watermark unless subscribed | Free with watermark; $4.99/month or $29.99/year | Best for creator-style content |
| ScreenPal | Free, no-watermark cross-platform capture | No account required, no watermark on the free plan | Fewer advanced editing tools than paid competitors | Free | Solid free alternative to the built-in recorder |
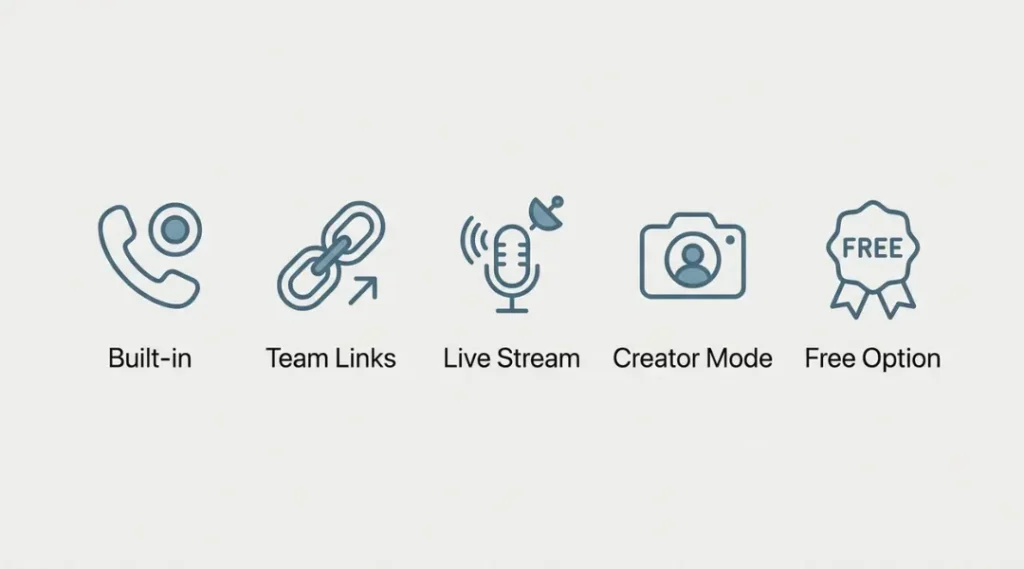
Apple’s built-in recorder remains the honest default in 2026. It now matches or beats most paid apps on raw video quality thanks to native resolution and HDR support, and because nothing leaves your device unless you choose to share it, it’s also the most private option on this list. The real limitation is that it’s a single-purpose tool: no live streaming, no face-cam overlay, and no way to record the screen and front camera simultaneously, a restriction Apple applies to every app on iOS, not just its own.
Loom is built for a different job: getting a recording into someone else’s inbox as a link instead of a file. That’s genuinely useful for async workplace feedback, but its pricing has been unusually unstable since Atlassian’s acquisition of the company, with reports of per-seat rates shifting and free-tier limits tightening. Anyone considering it for team use should check current terms directly on Loom’s pricing page rather than relying on older reviews.
DU Recorder fills the gap Apple leaves for live streamers, since it can broadcast to YouTube or Twitch while saving a local copy simultaneously, and its live annotation tools let you draw or highlight elements as you talk through them. The trade-off is a watermark on the free tier and the same iOS-level restriction on capturing call audio that affects every third-party app.
Common Mistakes to Avoid When Screen Recording on iPhone
Most recording problems trace back to one of these five habits, pulled together here from the step-by-step section above for quick reference:
- Assuming the Record button appears automatically after an update. It doesn’t; you have to add it to Control Center yourself in Settings.
- Forgetting to exit Control Center after tapping Record. Control Center itself gets captured on video until you swipe away from it.
- Leaving the microphone on by accident, or off when you meant to narrate. Press and hold the Record button before starting to check or change this, since tapping alone won’t reveal the option.
- Expecting to capture FaceTime or phone call audio. iOS blocks this by design regardless of microphone settings; it isn’t fixable through any setting.
- Looking for the finished video in the Files app. Screen recordings save to Photos, not Files, by default.
How to Screen Record on iPhone: Frequently Asked Questions
Screen recording is a built-in iOS feature that captures everything shown on your iPhone's display, including sound, as a video file saved to your Photos library. You start and stop it from Control Center, with no app download or account required.
Add Screen Recording to Control Center once from Settings > Control Center, then swipe down from the top-right corner of your screen, tap the Record icon, wait for the three-second countdown, and exit Control Center. Tap the red indicator at the top of the screen to stop.
This usually happens because the microphone toggle was left off. Press and hold the Record button in Control Center before starting to enable microphone audio. Note that system audio from other apps cannot be captured during FaceTime or phone calls; this is an intentional iOS restriction.
No. iOS blocks the capture of another caller's audio during FaceTime or phone calls by design, even if the microphone is enabled during recording. This restriction is not a bug and cannot be turned off.
iOS 26 introduced native full-resolution screen recording, removing the previous 1920-pixel width cap on devices with an A17 Pro chip or later (iPhone 15 Pro and newer). It also added HDR screen capture using HEVC HDR10 encoding, along with Visual Intelligence support to extract text or identify objects from a recorded frame.
Not natively. iOS does not allow the built-in recorder or third-party apps to capture the screen and front camera simultaneously in one pass. Creators who want a combined view typically use a second device to film themselves separately or record the screen and camera footage in two passes.
The most common mistakes are forgetting to add the Record button to Control Center before trying to use it, leaving Control Center open so it appears in the recording, leaving the microphone on or off by accident, expecting FaceTime or call audio to be captured, and looking for the finished video in the Files app instead of Photos.
Conclusion
Apple’s built-in screen recorder went from a basic, capped-resolution tool to something genuinely capable in iOS 26, and for most people it’s still the right choice: free, private, and now sharp enough for professional work once you know where the HDR and resolution settings live.
Third-party apps like Loom, DU Recorder, and ScreenPal only earn their place when you need something Apple deliberately leaves out, like shareable links, live streaming, or face-cam overlays.
Start with the five-step setup above, and if you outgrow it, the comparison table gives you a clear next move.