How to Fix Broken Screen Protector
You picked up your phone, and there it was: a spider web of cracks staring back at you. If your first reaction was panic, take a breath. In most cases, a broken screen protector looks far worse than it actually is, and fixing it (or safely removing and replacing it) is something you can do at home in under fifteen minutes.
This guide walks you through everything you need to know about how to fix a broken screen protector, including quick temporary fixes, safe removal methods for shattered tempered glass, and how to install a fresh one without trapping air bubbles or dust underneath.
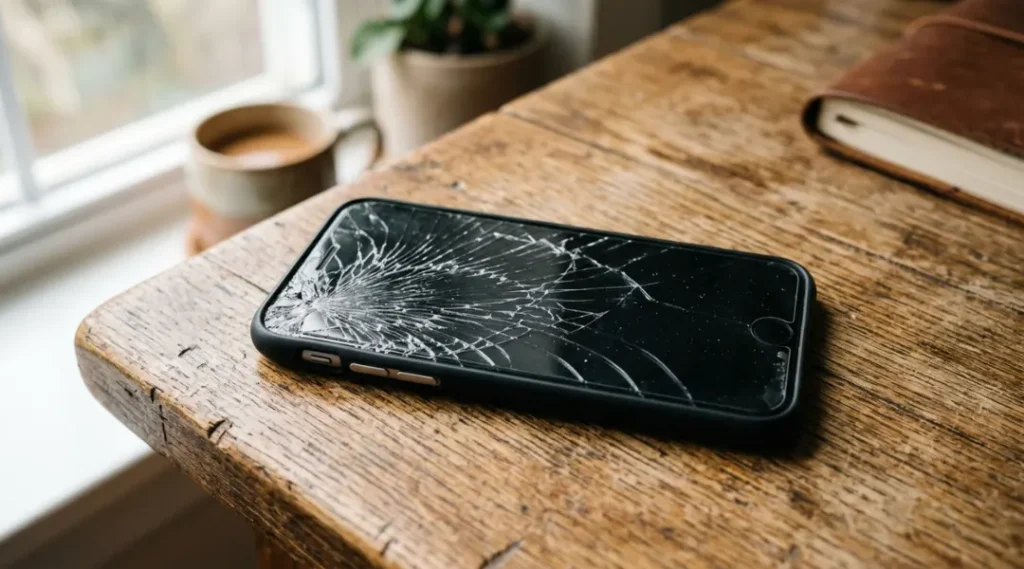
Table of Contents
ToggleIs It Actually the Screen Protector or the Screen Itself?
Before you do anything, confirm what’s really cracked. This single step saves a lot of unnecessary stress.
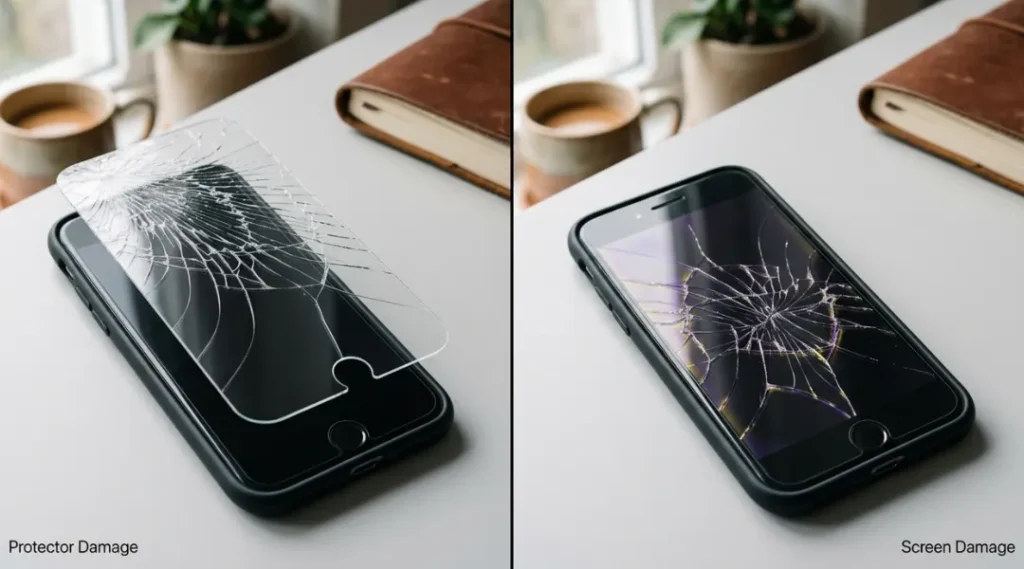
Run your fingernail gently across the surface. If you feel a raised edge, a lifted corner, or the crack pattern seems to sit on top of the glass rather than inside it, you’re likely dealing with a cracked screen protector, not a broken phone screen. Tempered glass protectors are designed to shatter in a fine, spreading pattern to absorb impact, which is exactly why they crack so dramatically compared to actual phone screens underneath.
Another quick test: shine a flashlight at an angle across the screen. Damage on the protector will look like it’s floating above the display, while true screen damage appears embedded in the panel itself, often accompanied by discoloration, dead pixels, or touch responsiveness issues.
If the touchscreen is unresponsive in certain spots or you see ink-like bleeding under the display, that points to actual screen damage, which is a different repair altogether and usually needs a professional. Apple’s own display and screen care guidelines outline similar signs to watch for when judging whether a display itself, rather than a protector, needs attention.
For a broader breakdown of display and performance issues, this smartphone troubleshooting guide covers everything from unresponsive touch to battery and charging problems.
Quick Temporary Fixes for a Cracked Screen Protector
If you can’t replace it right away, these temporary fixes for a broken screen protector can help you get through the day safely.
1. Clear packing tape or scotch tape Lay a strip of clear tape over the cracked area, smoothing it out from the center outward to avoid trapping air bubbles. This holds loose glass fragments in place and prevents them from catching on your fingers or pockets.
2. Clear nail polish Dab a thin layer of clear nail polish along the crack lines. It seals the fragments together temporarily and reduces the risk of glass shards lifting off. Let it dry completely before touching the screen again.
3. A silicone phone case with a raised lip While this doesn’t fix the crack, using a case with edges that sit slightly above the screen prevents further pressure on the damaged protector until you can replace it.
4. Petroleum jelly for hairline cracks For very fine cracks that haven’t lifted, a tiny smear of petroleum jelly can fill in the gaps and reduce glare, though this is purely cosmetic and short-term.
None of these are permanent solutions. Think of them as harm-reduction steps, not repairs, since the safest long-term fix is removing the broken protector and installing a new one. Consumer Reports has previously noted in its electronics care coverage that quick fixes for damaged accessories rarely hold up under daily handling, which is why replacement remains the more reliable route.
How to Safely Remove a Broken Tempered Glass Screen Protector
This is where most people get nervous, and understandably so. Shattered tempered glass can flake, and rushing the removal often leads to small cuts or scratches on the actual screen underneath. Here’s a safer, methodical approach.
What You’ll Need
- A microfiber cloth
- Tweezers or a plastic pry tool (avoid metal)
- Clear tape (packing tape works best)
- Isopropyl alcohol (70% or higher) and a lint-free cloth
- Patience, since rushing this step is where most scratches happen
For anyone who wants a deeper look at safe handling tools for delicate electronics, iFixit’s repair guides are a solid reference, since the same plastic-tool-over-metal principle applies whether you’re removing a screen protector or opening a device case.
Step-by-Step Removal Process
Step 1: Wash and dry your hands. Oil and moisture on your fingers can cause loose glass shards to stick to your skin rather than lift cleanly off the screen.
Step 2: Find a lifted corner. Most broken protectors have at least one edge that’s already peeling. Use your fingernail or a plastic pry tool to gently lift it. If no corner is loose, use the tape trick below.
Step 3: Use the tape-pull method for stubborn edges. Press a strip of clear packing tape firmly onto one corner of the cracked protector, then peel it back slowly at a low angle. This often lifts an edge cleanly without scattering glass fragments.
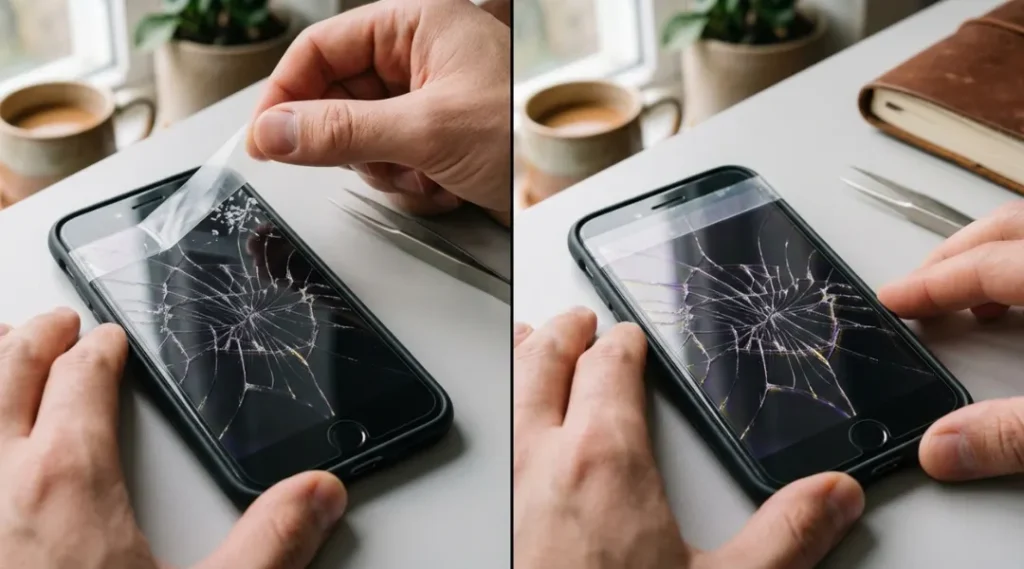
Step 4: Peel slowly and at a low angle. Once you have a starting point, peel the protector off in one slow, continuous motion, keeping the angle low and close to the screen rather than pulling straight up. This reduces the chance of shards flaking onto your desk or fingers.
Step 5: Collect loose fragments immediately. Use tweezers or a piece of tape to lift away any small glass pieces left behind. Do not use your bare fingers to brush them off, since shattered tempered glass can be sharp even in small pieces.
Step 6: Clean the screen thoroughly. Wipe the bare screen with a lint-free cloth lightly dampened with isopropyl alcohol. This removes adhesive residue, oil, and dust, giving your new protector a clean surface to bond with.
If you found this guide because you searched for a video walkthrough or a community thread on removing a broken tempered glass screen protector, the core method is largely the same: identify a lifted edge, use tape or a plastic tool to start the peel, and go slow. Community discussions on forums like Android Authority’s device maintenance section echo the same advice for Android devices, since the removal principles stay consistent across brands. The main difference here is the added focus on protecting your fingers and screen from stray glass fragments during the process, which is often the part people learn the hard way.
How to Install a New Screen Protector Without Bubbles or Dust
Once the old one is off and the screen is clean, installing a replacement correctly matters just as much as removing the broken one safely.
Samsung’s official display protection guidance offers similar step-by-step advice for its device lineup, and the core technique translates well across most phone brands.
- Do a dry fit first. Line up the new protector with your camera cutouts, speaker, and sensor holes before removing any adhesive backing.
- Use the dust removal stickers that usually come in the box. Press them onto the screen a few times to pick up any remaining particles.
- Peel and place from one edge. Lower the protector slowly from one side, letting gravity guide it into alignment rather than dropping it flat.
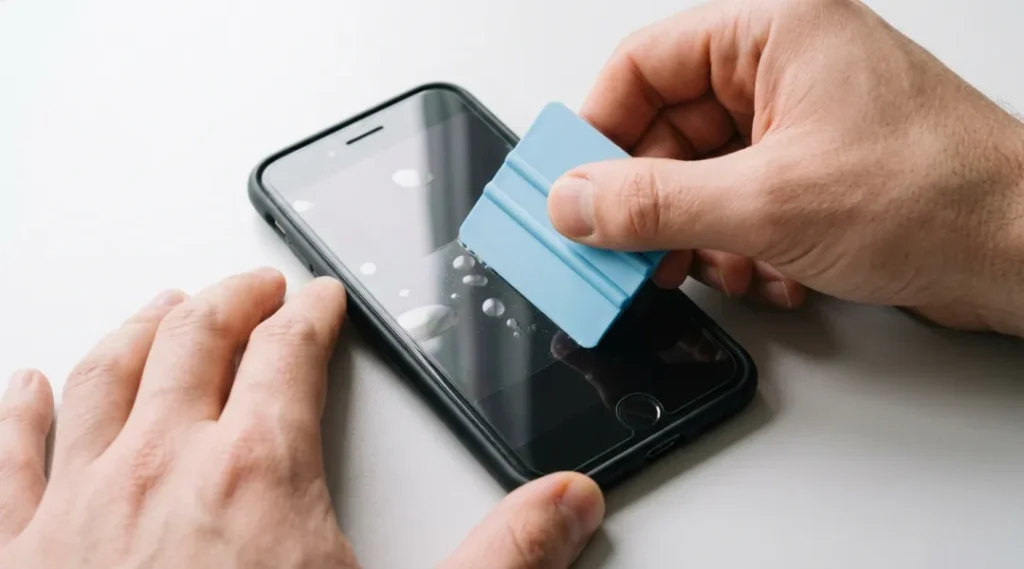
- Push out air bubbles. Use the included squeegee or a soft microfiber cloth, working from the center outward in straight lines.
- Let it settle. Avoid pressing hard on the screen for the first hour so the adhesive can cure evenly.
If small bubbles remain after a few hours, they usually disappear on their own as the adhesive fully sets.
When You Should Replace Instead of Repair
A temporary fix is fine for a day or two, but you should replace the protector rather than patch it if:
- Glass fragments are visibly lifting or flaking off
- The crack pattern covers more than 20 to 30 percent of the screen
- Touch sensitivity feels off in the cracked area
- You notice sharp edges that could cut your fingers during normal use
Continuing to use a badly shattered protector increases the risk of glass fragments working their way under the edges and scratching the actual display, which turns a cheap, five-dollar fix into a much costlier screen repair.
How to Prevent Your Screen Protector From Cracking Again
- Choose a protector with rounded, tempered edges rather than sharp-cut corners, since edge impacts are the most common cause of cracks.
- Pair it with a case that has raised bezels around the screen.
- Avoid placing your phone screen-down on rough or uneven surfaces like sand, gravel, or car cupholders.
- Replace protectors every 6 to 12 months even without visible damage, since micro-scratches build up over time and weaken the glass.
How to Fix Broken Screen Protector: Frequently Asked Questions
Not permanently. Clear tape or nail polish can hold cracked pieces together for a short time, but tempered glass cannot be structurally repaired once it shatters.
It's generally safe for a short period if the fragments aren't lifting, but sharp edges or loose glass can scratch your actual screen or cut your fingers, so replacing it soon is the safer choice.
Not if you go slowly and use a plastic tool or tape rather than scraping with metal or your fingernails directly on the display.
Basic tempered glass protectors typically range from a few hundred to a few thousand rupees depending on brand and phone model, making it far cheaper than repairing an actual cracked screen.
Light, low heat can soften the adhesive slightly, making removal easier, but keep the dryer several inches away and on a cool or low setting to avoid overheating the phone's battery.
Final Thoughts
A shattered screen protector can look alarming, but it’s usually the cheapest kind of phone damage you’ll ever deal with. Once you know how to fix a broken screen protector safely, whether that means a quick temporary patch, a careful removal, or a full replacement, you can handle it in minutes without risking the display underneath.
If you’re shopping for a sturdier replacement, PCMag’s screen protector buying guide is a useful reference for comparing glass thickness and coating quality before you buy. Keep a spare protector and a microfiber cloth on hand, and the next crack will feel like a minor inconvenience rather than an emergency.