How to Change WiFi Channel
If your WiFi has been crawling lately, especially in the evening when everyone in your apartment building is streaming, gaming, and video calling at once, the problem might not be your internet plan at all. It could be something much simpler: your router is broadcasting on a crowded channel.
Think of WiFi channels like lanes on a highway. When too many routers squeeze into the same lane, everyone slows down. Switching to a quieter lane, or channel, can instantly improve your speed and stability, and it takes less than five minutes to do.
This guide walks you through exactly how to change your WiFi channel, why it matters, and how to pick the best one for your home or office.
Table of Contents
ToggleWhat Is a WiFi Channel, and Why Does It Matter?
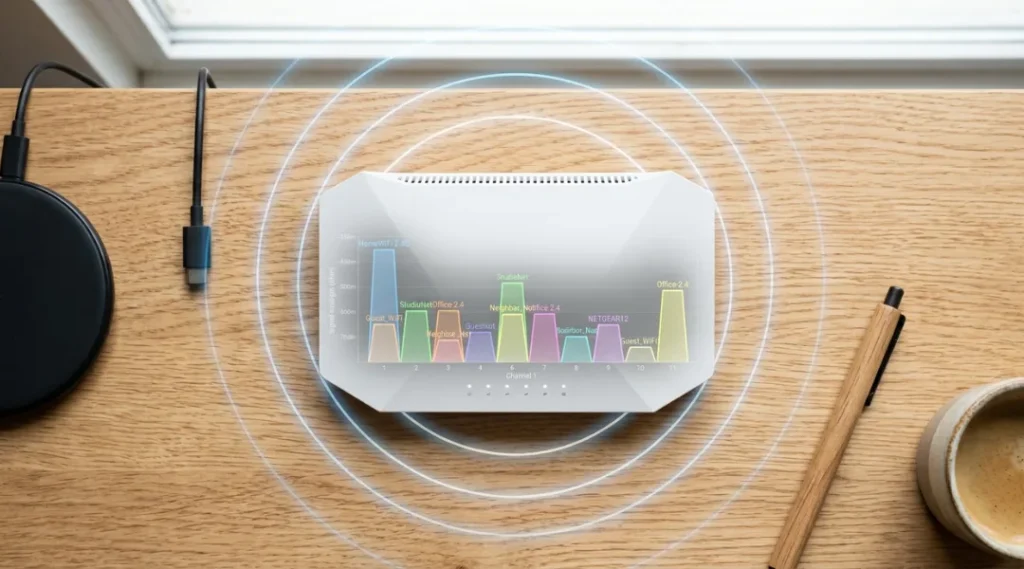
Your router doesn’t just broadcast WiFi randomly. It transmits data over a specific radio frequency band, and within that band, there are several distinct “channels” it can use. The 2.4GHz band has 11 to 14 channels depending on your region, while the 5GHz band offers many more, wider, and generally less congested channels.
When multiple routers in the same area use overlapping channels, their signals interfere with one another, similar to two people trying to talk over each other in a crowded room. This is called channel interference, and it’s one of the most common, and most overlooked, causes of slow or unstable WiFi.
This same principle, a shared link degrading under contention rather than failing outright, shows up at a much bigger scale in business infrastructure too. A recovery database network connecting a company’s primary and backup databases can suffer the same kind of quiet slowdown during a latency spike, except instead of a buffering video call, the cost is minutes of unrecovered transaction data.
Common symptoms of channel congestion include:
- Slow speeds despite a strong internet plan
- WiFi that works fine at night but slows down during peak hours
- Devices frequently disconnecting or struggling to reconnect
- Weak signal in rooms close to neighboring apartments or offices
If any of this sounds familiar, changing your WiFi channel is one of the fastest, free fixes available.
2.4GHz vs 5GHz vs 6GHz: Understanding Your Bands First
Before changing your channel, it helps to know which band you’re working with, since each behaves differently.
2.4GHz band: Longer range, better wall penetration, but only three non-overlapping channels (1, 6, and 11 in most regions). This band is heavily used by older devices, smart home gadgets, Bluetooth devices, and even some microwaves and cordless phones, making it prone to congestion.
5GHz band: Shorter range but significantly faster speeds and far more available channels, which means less interference. Ideal for streaming, gaming, and video calls.
6GHz band (WiFi 6E and WiFi 7): The newest and least crowded band, offering the cleanest channels currently available, though it requires compatible routers and devices certified by the organization that certifies WiFi technology..
If your router supports dual-band or tri-band WiFi, you may need to adjust channels separately for each band.
How to Check Your Current WiFi Channel
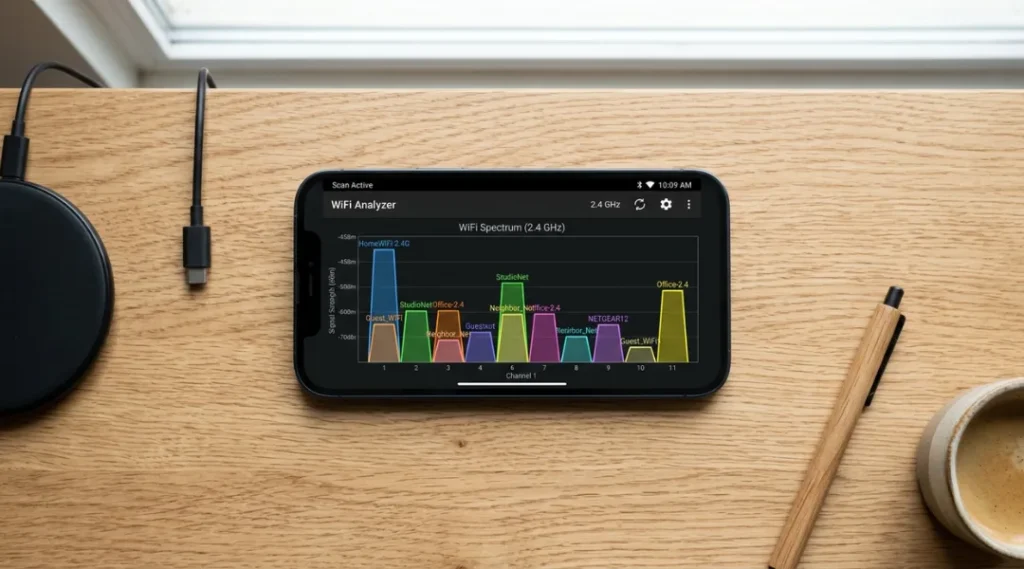
Before switching, it’s worth confirming which channel you’re currently on and how crowded it is. You can do this using a WiFi analyzer app on your phone or laptop, many of which are free and show a live visual of nearby networks and the channels they occupy.
Look for channels with the fewest overlapping networks and the lowest signal strength from neighboring routers. This gives you a clear, data backed starting point rather than guessing.
How to Change Your WiFi Channel: Step-by-Step
The exact menu names vary slightly between router brands, but the overall process is nearly identical across all of them.
Step 1: Find Your Router’s IP Address
Most routers use one of these default addresses:
- 192.168.0.1
- 192.168.1.1
- 10.0.0.1
You can find yours by checking the label on the router itself or by looking up your network’s default gateway in your computer’s network settings.
Step 2: Log In to the Router’s Admin Panel
Type the IP address into your browser’s address bar and press enter. You’ll be prompted for a username and password, often “admin” and “admin” or “admin” and “password” by default, unless you’ve changed them. If you never customized these credentials, it’s a good time to do so for security reasons.
Step 3: Locate the Wireless Settings
Navigate to a section usually labeled Wireless, WiFi Settings, or Network Settings. Within this menu, you should see separate settings for your 2.4GHz and 5GHz bands if your router is dual-band.
If you own a Netgear router, Netgear’s official support documentation offers screenshots matching your exact firmware version
Step 4: Change the Channel
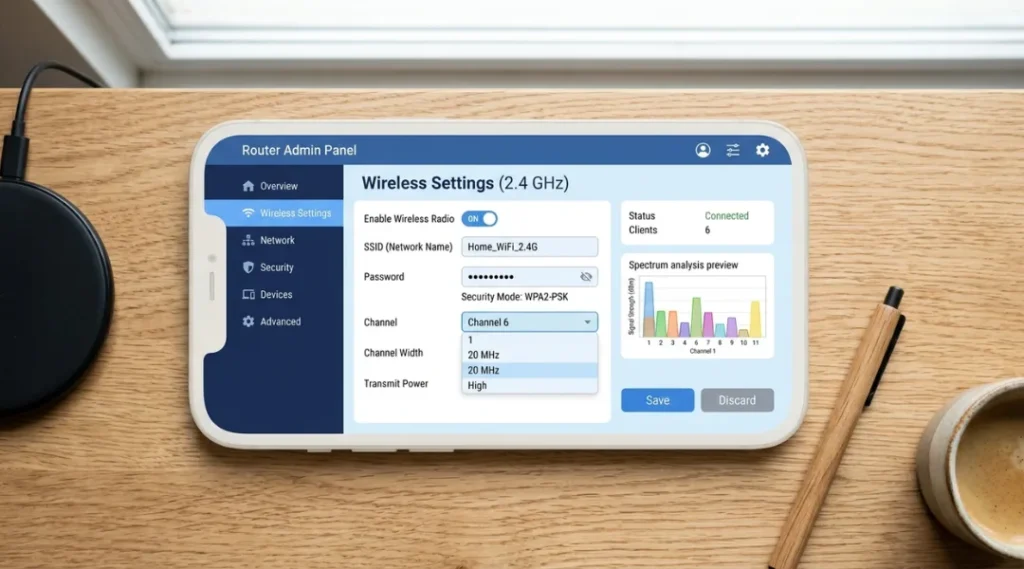
Look for a field labeled Channel or Wireless Channel. It’s often set to “Auto” by default. While auto mode should theoretically pick the best channel, it doesn’t always update dynamically, so manually selecting one often works better.
For 2.4GHz, choose channel 1, 6, or 11, since these don’t overlap with each other. For 5GHz, most modern routers offer a wider range of non-overlapping channels, so pick one with the least reported congestion from your WiFi analyzer app.
ASUS users can cross-check menu paths through ASUS’s router support center if their interface looks slightly different.
Step 5: Save and Reboot
Save your changes and restart the router. Most devices will automatically reconnect to the new channel within a minute or two, though some older devices may require you to manually reconnect.
Best WiFi Channels to Use
If you’re unsure where to start, these general recommendations work well for most households:
- 2.4GHz: Channel 1, 6, or 11 (avoid anything in between, since it causes overlap)
- 5GHz: Channels 36, 40, 44, or 48 tend to be reliable and widely supported, though channels in the 100 to 144 range (DFS channels are defined under the IEEE 802.11 wireless standard, which governs how these frequencies are shared with radar systems.”) can offer even less congestion in dense areas
- 6GHz: Any channel typically works well currently, since adoption is still low
Keep in mind that the “best” channel genuinely depends on your neighborhood. An apartment complex with dozens of routers will need more careful channel selection than a standalone house in a rural area.
How to Change the Channel Width (Bonus Optimization)
Alongside the channel number, most routers let you adjust the channel width, typically 20MHz, 40MHz, or 80MHz. Wider channels offer higher speeds but are more prone to interference, while narrower channels are more stable in crowded environments.
As a rule of thumb, 20MHz works better for 2.4GHz in congested areas, while 80MHz is usually fine for 5GHz unless you’re in a very dense apartment building.
Troubleshooting: What If Changing the Channel Doesn’t Help?
If your WiFi issues persist after switching channels, consider these additional steps:
- Update your router’s firmware, since outdated firmware can cause performance issues unrelated to channel congestion
- Reposition your router away from walls, metal objects, and electronics that cause physical interference
- Check for firmware-level QoS settings that might be throttling certain devices
- Consider a mesh WiFi system if you have a large home with persistent dead zones
If your WiFi still feels sluggish even after switching channels and repositioning your router, slow DNS lookups can also be the culprit, since your device can have a fast connection but still wait several seconds just to resolve a website’s address.
How to Change WiFi Channel: Frequently Asked Questions
There's no fixed schedule. Recheck your channel if you notice slowdowns, move to a new location, or if new networks pop up nearby (like a new neighbor's router).
Briefly, yes. Devices usually reconnect automatically within a minute, though a few may need a manual refresh.
No. Your SSID and password remain exactly the same; only the frequency your router transmits on changes.
Yes, and in most cases, you should. They operate independently and often perform best with different channel numbers.
Final Thoughts
Changing your WiFi channel is one of the simplest, most underrated ways to improve your home network’s performance, and it costs nothing but a few minutes of your time. Start by checking your current channel with an analyzer app, pick a less congested option, and reboot your router. For most households, this small adjustment leads to noticeably smoother streaming, gaming, and video calls.